Saturday 20 July 2013


Butterfly Birthday!


Hi again!  Here's my newest card.  I'm going to try hard to publish all of my cards as I do them.  I have a lot of cards that I don't have on my blog yet, but going to try to catch up :)

This card measures 7"x5.5", just a little bigger than the normal card.  The card base is made from SU - Very Vanilla with a layer of SU - Midnight Muse (love this colour, definitely one of my favourites!).  The designer paper with the pretty green leaves was given to me and I don't remember where she got it. 

The butterfly is SU - Swallowtail, it's beautiful.  I stamped it with VersaMark ink on white cardstock, covered it with black embossing powder and heated it up.  The colour was added with Derwent - Inktense pencils and an aquapainter.  I always use Ink Potion # 9 in the aquapainter, it doesn't curl the paper like plain water will, so you don't have to use heavy, textured watercolour paper.  I also used Derwent - Coloursoft pencils.  These are really soft pencils that allow you to blend the colours together very smoothly.  Once the butterfly was coloured, I fussy cut it.  I used a black Sharpie and went around the cut edge to cover up any white. 

I curled the 4 parts of the wings with my fingers so they have a nice wave to them, it makes the butterfly look like he's in motion.  Unfortunately, you can't see this very well in the photo.  Under the wave on each wing, I put two layers of pop ups and then positioned the butterfly on the card.  I glued the body down and each wing tip.  The pop ups underneath help keep the wings curved, especially since this card was going in the mail. 

The flower on the butterflies body is from Michael's - Melodies and Lace, this was hot glued in place.  The bling on the antenae is from SU - Black Flourish.  The flourish that is coming from under the butterfly was cut using Spellbinders - Venetian Motifs and metallic copper cardstock.

The sentiment is SU - Perfectly Penned and was stamped with Stazon - Jet Black on white cardstock.  There is a layer of SU - Midnight Muse under it.  The end pieces were cut out with Spellbinders - Venetian Motifs and metallic copper cardstock.  I added half pearls to the copper decorations.   The sentiment was popped up on the card.

The one sparkly leaf came from Dollarama as did the ladybug.

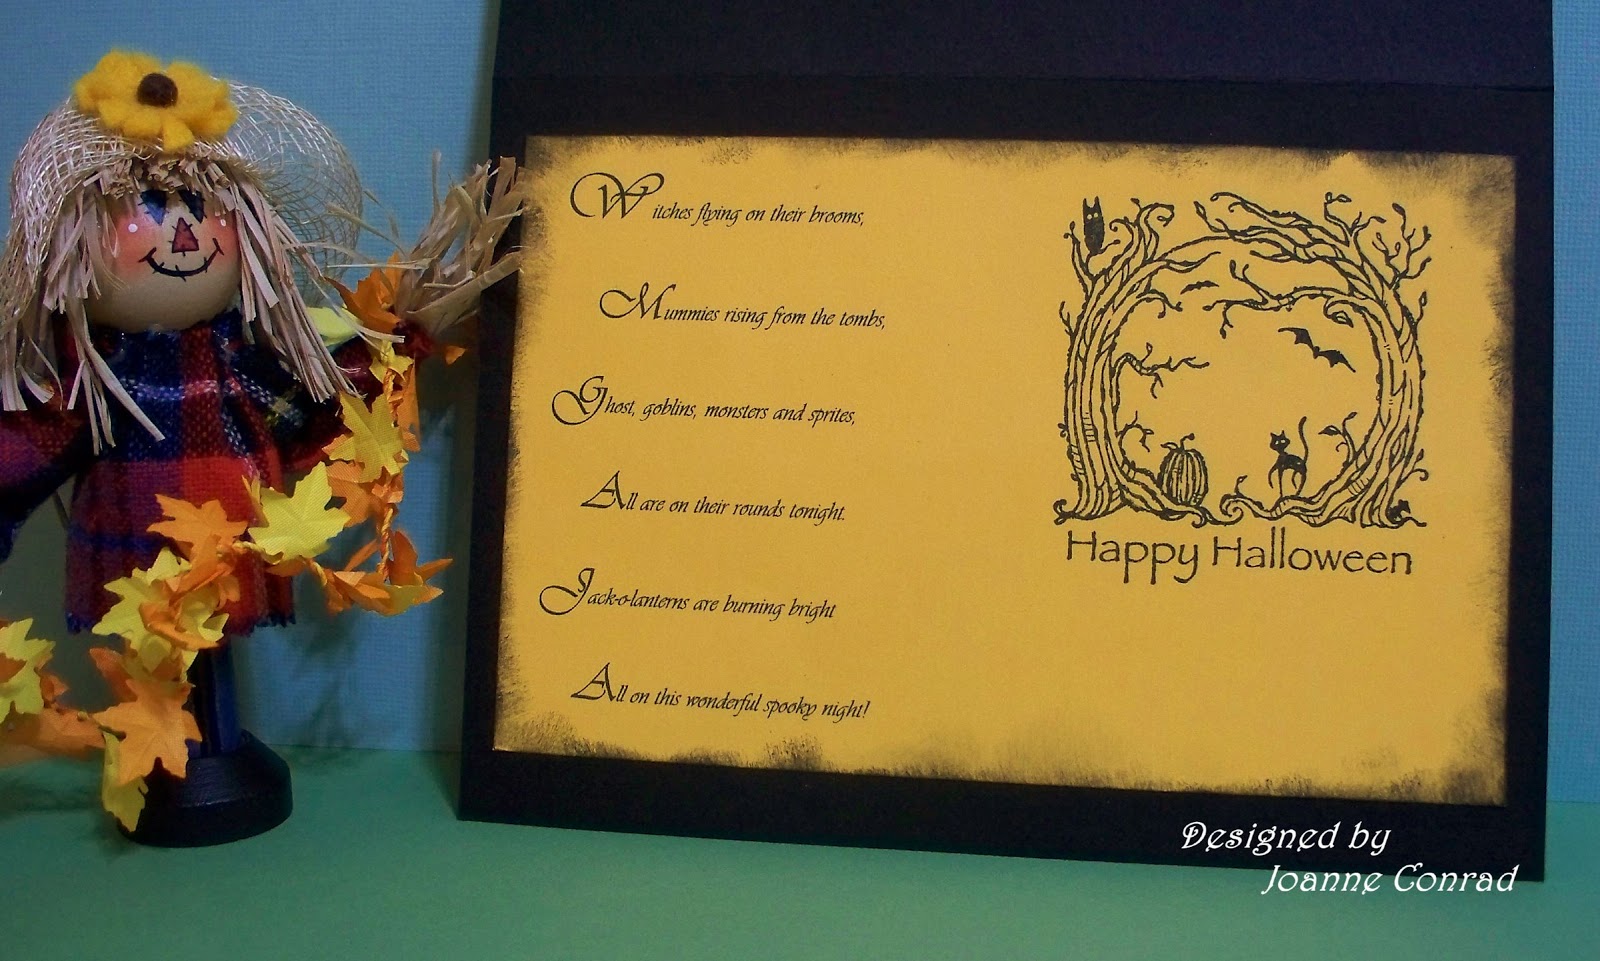
This is the inside of the card.  The verse was computer generated on white carstock with SU - Midnight Muse layed under it.  The decoration is also from Spellbinders - Venetian Motifs and the metallic copper cardstock.


Thanks for stopping by!  Remember to come back soon for the next card :)


Easter Cards for Little Boys

I was asked to make Easter cards for two little boys, so this is the first card.

All of the paper and cardstock that I used was just from my stash so, unfortuately, I can't pass the company names along.  The soft colours of the designer paper suited the card well and then I just picked a cardstock that contrasted nicely with it.

The base of the card is 5"x7" and was made with the darker cardstock.  The ribbon is from SU - Bashful Blue Stitched.  I fastened it around the designer paper and then adhered the paper onto the cardstock. 

The center was cut from the same papers with SU - Labels Collection.  I didn't pop this up because the little eggs that I wanted to use were very thick and I didn't want the card to be too high.  One of our small local stores brings in various craft items from time to time and I found these great Easter stickers there, they are called Easter Treasures.  So that is where the bunny and carrots came from, I thought they were so cute!

The eggs came from Dollarama.  They are round eggs that were meant to hang as decorations.  They are styrofoam and covered with little coloured balls.   I cut them in half with a serated knife and hot glued them in place, so they are fairly high on the card.  I also used hot glue to put the Easter grass in place under the bunny, it is the shredded paper kind.

I wanted to put a little splash of spring on the card.  I used a medium green Bazzill cardstock and SU - Sizzlits Little Leaves to make the spray up in the corner.  The butterflies were made with SU - Embosslits Beautiful Wings then folded and glued into place.  A small flower was glued on to finish.   Again the flower was one that was from my stash.  The final touch were the half pearls in the corners.
This is the inside of my card.  The verse is a combination of several verses and was computer generated.  The little chick was from Michael's and the other stickers were from the same company as the bunny on the front.

This is the second card.  The same paper and stickers were used, just in different combinations.


Hoped you have enjoyed these cards.  Enjoy your day and thanks for taking a look :)


Tuesday 26 February 2013

Pretty Easter Eggs


Hi everyone!  It's been a while since I posted any cards to my blog.  I've been so busy making them that I haven't made the time to post any!  So now I'm playing catch up - I have a lot of them :)

So this is one of my Easter cards, I wanted to keep it simple yet elegant.  So, this is a 5"x7" card using white cardstock.  I took a piece of 7"x 4.5" white cradstock and embossed it with the Cuttlebug folder - Birds and Swirls and attached this to the top part of the card.  The green area of the card is a piece of green from my leftover pile that I tore across the top leaving me a piece of 7" x 1.5".  This was embossed with EF - Swiss Dots and then attached to the card.

The Easter egg stamp is from The Artful Stamper.  I stamped it with VersaMark ink on 4 different pastel coloured cardstock  and 4 times on white cardstock.  They were heat embossed with a gold embossing powder.  The 4 coloured eggs were cut out.  The center band of the white eggs were cut out and glued on top of the coloured eggs, giving them some pretty detail and dimension.  The coloured eggs were then tucked under the top edge of the grass and glued in place

The sentiment was computer generated and matted on some coloured paper, the colours of this paper match the colours in the eggs.  The sentiment was popped up with some dimensionals.


Here's the inside of the card.  The verse is a combination of several verses and it also was computer generated onto white cardstock.  The edges were punched with a Fiskars punch and the verse was matted onto the same designer paper that was used on the front.  A small piece of this paper was added at the bottom and the card was finished.

Thanks for stopping in to take a look, stay tuned for lots more cards :)


Tuesday 23 October 2012

Dawn


My sister hates getting older, always has, always will, so I had to get a little dig in lol - that's what older sisters do.  And the fact that I do it well is just the way it goes :)

My sister loves birds and humming birds in particular and I wanted to make her a pretty card that she would like.  The verse I had seen on someone else's card a while ago, but I didn't bookmark it at the time.  My card is different from theirs, but I did use their words, so - if it's from your card - thank you so very much for the inspiration and I fully acknowledge that the words are not mine!

The card itself is a 5x7 made from Recollections - Kraft paper.  The designer paper with the birds is Kissing Booth - Oh Darling!  I sponged around the bird paper with SU - Chocolate Chip.

The next layer is popped up.  I used SB - Fleur De Lis Rectangles and cut it from Kraft paper.  The musical designer paper on this layer is BoBunny - Et Cetra Symphony.  I sponged the edges with Chocolate Chip before adhering it to the Fleur De Lis. 

The next layer is also popped up.  I used SB - Labels Eighteen and SU - Very Vanilla to cut out this third layer.  With the Spellbinder still in place around the cut paper, I sponged very softly around the edges with Chocolate Chip and then when you take the die off you have a cool border around it.  The photo is making it look like the papers are white, but it reality, they are cream coloured and very vanilla.  The verse on this layer was computer generated.

The leaves are SU - Little Leaves cut from SU - Chocolate Chip and the cream coloured organza ribbon is from Michael's.  The little metal humming bird is also from Michael's, Bead Landing - Found Objects.  This is a package of metal bird charms and they are just sweet.  So I put the little hummer on some baker's twine and looped it around the bow.  I put a glue dot on the back of the bird and fixed it to the card so he could always be seen rather than flop around.  The baker's twine is Sew Easy - Cream Soda.


Here is the inside of the card!  It's so perfect.  Made very simply, SB - Labels Eighteen and SU - Very Vanilla.  Again, the paper was sponged with Chocolate Chip while the Spellbinder was still in place.  The verse was computer generated.

Thanks for visiting :)


All Hallow's Eve!


I had so much fun making this Halloween card! I made 5 last night and put them in the mail this morning :) and I have another one, different design, on my card table now.  Love Halloween!!

So, this card starts with a 5x7 black cardstock base.  The black cardstock is Recollections and the designer paper is SU - Pick Your Poison.  The edges of the desinger paper I distressed with a Tim Holtz tool.  The witch, the spider, and the Halloween sentiment are from Inkadinkadoo - All Hallow's Eve.  This is a great collection of clear stamps.  All the stamping was done with Stazon - Jet Black.


The sentiment is stamped on yellow cardstock - just some I had in my collection.  The bottom edge is cut with deckle scissors and was sponged all around with Stazon - Jet Black.  I matted it on black cardstock and cut the bottom edge with the deckle scissors to match the yellow.  This is popped up on the card.


The black flowers and leaves were all cut using dies and glued in place.  The branch is Memory Box - Woodland Branch.  The fern is Memory Box - Gentle Leaf.  The vine is Cheery Lynn - Fanciful Flourish and the flowers are SB - Rose Creations.  I shaped the flowers using the end of a paint brush and a soft mouse pad.  Lavender half pearls were added to the centers.  The sparkley ghost and pumpkin are fun foam shapes that I had picked up from somewhere, I just don't remember where, lol.  And the white pumpkin with the design on it is Jolee's Boutique - White Pumpkins.  There are 12 pumpkins in the package and they all have different designs on them, they're great.


The inside was fun to do too!  I found part of the verse on the internet and made part of it up myself, then the whole thing was generated on the computer.  The "Happy Halloween" is SU - Haunted Forest.

Thanks for stopping by and having a look :)

Tuesday 16 October 2012

Snow Bird

This is the first new Christmas card I've made this fall :)  I had such a good afternoon making it, I love this time of year. 

The card is a 6x6" card of red Bazzill cardstock.  I actually made it 1/4" smaller so that it will fit in a 6" envelope.  There is a layer of blue Bazzill too - sorry I don't have the names of the colours.  The red plaid is Recollections - Frosty Cabin.  This is a beautiful pad of paper.  I attached a red satin ribbon diagonally across the front of the card, this was just some ribbon that I had in my collection.

I saw this little bird on Kristy's facebook page - ScrapbookingCafe and had to have it.  He's so cute!  He's made by Stampendous - Snow Bird.  If you haven't seen Kristy's online store - check it out.  Great stuff and good prices.

So, I stamped him on Recollections - Shimmer paper with Stazon - Jet Black.  I cut this out with SU - Labels Framelits.  Using an aqua painter, I painted the bird with SU - Watercolour Crayons and used Marina Mist and Cherry Cobbler.  His beak is Daffodil Delight and his legs are Tangerine Tango.  The branch is painted with Soft Suede.  I always use Ink Potion #9 in my aqua painter, it works just like water but doesn't warp the paper.  I coloured the berries with a red Tombo marker - #856.

For the background I used SU - Marina Mist and Real Red ink and a finger dauber.  I kept these colours very soft and just rubbed them in. 

To make the snow on the branches, I used a Snow Marker.  It's hard to see in the picture, but the snow is puffed up and this adds really nice dimension to the picture!  If you haven't used one of these markers, you should try to find one because they are so cool.  The marker puts a white liquid on the paper where you want it and then you just heat it with a heating tool and it dries and expands, so easy and such a great effect.

The red frame around the bird was cut and embossed using the same SU - Label Framelits that I cut the bird out with and the next size smaller.  The frame was glued to the bird picture and this was popped up on the card.

The sentiment is Inkadinado - Ornate Christmas and is stamped with Stazon - Jet Black.  This was also stamped on the white Shimmer paper and die cut with Spellbinders - Labels Twenty.  Before I took the die off of the paper, I sponged SU - Marina Mist around the edge.  I coloured the little poinsettia with the red Tombo and added a small half pearl to the center.  I sponged Real Red around the edges and popped this up on the card. 

I stung two small red bells on some red and white baker's twine and attached them to the back of the popped up sentiment.

This is the inside.  Used the same colours as the front.  The verse is my own and generated on the computer.

Hope you like the card.  Thanks for taking a look :)


Audrey


A dear friend turned 101 years old in August, she is such a sweet and lovely lady and I wanted something special for her so this is the card I made for her. 

I love Kittie Caracciolo's cards and this is one of her cards that inspired mine - http://www.splitcoaststampers.com/gallery/photo/2032734?&limit=last1

This is a 6x6 card, but I cut it 1/4" smaller so it would go into a 6" envelope.  I used a medium pink Bazzill cardstock.  The next layer is a 4" square of white cardstock embossed with SU - Square Lattice folder.  This was attached directly to the center of the pink card. 

The designer paper is some from my stash, sorry I don't know the company name.  I started with a 5" square and used Martha Stewart's punch around the page - Eyelet Lace.  I then cut and embossed the center opening with Spellbinders - Classic Scalloped Circles.  I added pop ups to this but it didn't give enough height, so I put a second layer of pop ups right on the first ones and attached this to center of the card.

Then the decorating :)

I used one Tammy Beaver's flowers.  I think they are so beautiful and they come in many colours.   You can get them from Tammy, check out her website at http://www.dcands.ca/ and you can also get them at Scrapbooking Cafe Online, http://www.scrapbookingcafeonline.ca.  I attach these flowers to the cards with a little dab of hot glue. 

The leaves are a combination of things.  I used SU - Little Leaves (I love this sizzlet! ) and SU - Build A Blossom Punch.  The punch is to build flowers but many of them look like leaves too.  I used SU - Old Olive, Wild Wasabi, and Pear Pizzaz.  Then I did a lot of sponging on them.  They are shaded at the base and along the edges with a variety of colours - SU - Garden Green, Always Artichoke, and Old Olive.  The shading at the base is heavier than the edges.  Then I blushed the leaves here and there with SU - Cherry Cobbler.  There's a little bit on each leaf but in different places.  I love using finger daubers for this shading, it gives you nice control of how much colour you're putting on and lets you put it just where you want it.  I shaped the bigger leaves by rolling them around the handle of a small paint brush.  The leaves were arranged around the flower and the open circle and glued in place.

I cut the little banner out by hand and the "Happy Birthday" is SU - Something to Celebrate and is stamped in SU - Garden Green.  I sponged the same colour around the edges and glued this just under the edge of the flower.  I added some pink half pearls in each corner.

This is the inside.

A square of white cardstock, a square of the same designer paper used on the front ( this was also punched with MS - Eyelet Lace), and a scalloped circle of white cardstock.  I added a few leaves to make it pretty.  I didn't add a verse to this card because I wanted to write my own words.

Thanks for taking a look :)